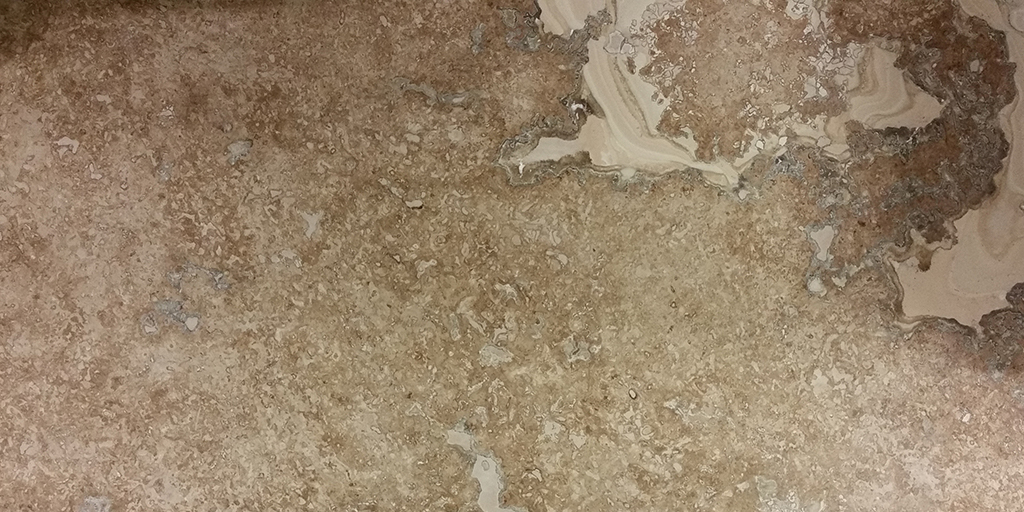
Filling Travertine Holes
Lovers of the natural stone travertine have no doubt been drawn to this marvelous, relatively soft, stone. Yet, when travertine ages, the need can arise for some repairs or restoration to be made keeping it in the nest condition.
Since travertine naturally has holes in it, the factory fills the tiles when they are processed. However, as floor tiles or backsplash tiles age, the filler used at the factory comes out; revealing the original holes that were naturally there. When this occurs, home owners or maintenance professionals look for ways to repair or fill holes in travertine.
Travertine Fillers
Various materials are used to fill travertine. A couple of materials that are commonly used for this purpose. First, grout or a grout-like filler is used to fill in travertine holes. In fact, this kind of filler is what is often times used in the factory when travertine is first processed. But remember, this kind of filler can come out. As a result, the holes need to be filled back in. Which leads us to the second material that can be used to restore travertine backsplash tiles or fill travertine floor tiles.
Durable Travertine filler
Another filler that can be used to restore travertine is a semi-solid polyester glue that is designed to compliment the original color of the travertine tile. One such filler can be purchased from Lustro Italiano. The following instructions are for that product:
How to Fill Holes In Travertine
- Clean the Stone – cleaning the area of the travertine tile you are going to fill is important. There are a few products that work well for this purpose. However, one product that is often used is denatured alcohol.
- Adjust the Color if Necessary – Although this product comes in four visual variations, it is available in others. If you are adding coloring paste to one of the three base colors you need to add it before you begin mixing the glue with the catalyst.
- Mix the Filler – Combining the catalyst with the glue is what causes the material to begin hardening. You need to mix the catalyst into the glue at a ratio of 2-3 parts catalyst per 100 parts of glue (2-3% – 2-3:100). Stir together thoroughly.
- Apply the Filler – Apply the filler to the area you are filling. When you add the filler to the holes use a flat tool to scrape the filler over the hole and then press out any air pockets that might be inside the hole being filled. Also, use a slight excess of filler in the hole you are filling to allow for shrinkage.
- Scrape Excess Filler From the Tile – During the application step (step 4), you may get some of the filler on the tile. Use a straight edge to scrape any excess filler from the areas of the travertine that are not being filled.
- Allow to Dry – Give the filler plenty of time to dry completely.
- Clean Up the Residual Filler – First, scrape of any residue from the filler with a razor blade, then use denatured alcohol to remove any trace amounts of filler on the travertine.
Keep Your Travertine Looking Its Best
As mentioned before, travertine is a beautiful material that naturally contains air pockets. By using this method to fill holes in travertine, you have stone that looks nice and is as strong as it needs to be. Finally, since this kind of travertine filler is permanent, you won’t need to fill it repeatedly.